Simple Hand Sewing Repairs Everyone Should Know
(Including How to Sew on a Button)
One of the quiet superpowers of hand sewing is that it makes small problems feel manageable.
A loose button.
A split seam.
A hem that won’t stay put.
These aren’t big projects — they’re tiny interruptions. And knowing how to fix them by hand turns frustration into calm, capable action.
You don’t need to be “good at sewing” to handle everyday repairs. You just need a few basic skills and the confidence to try. This post covers the most useful hand sewing repairs — the ones you’ll actually use.
Sewing on a Button (The Skill You’ll Use Forever)
If you learn only one hand sewing skill, make it this one.
Buttons fall off. Jackets, shirts, bags, coats — it happens to everyone. Sewing a button back on takes five minutes and saves you from replacing or discarding something you still love.
What You’ll Need
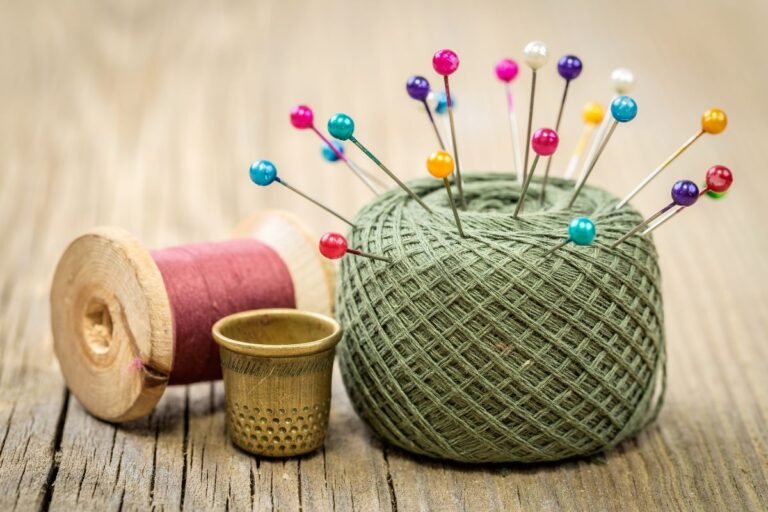
- A needle
- Thread (match if you can, but it’s not required)
- The button
- Scissors
That’s it. That’s all. Nothing fancy or exotic.
How to Sew on a Button (Simple Version)
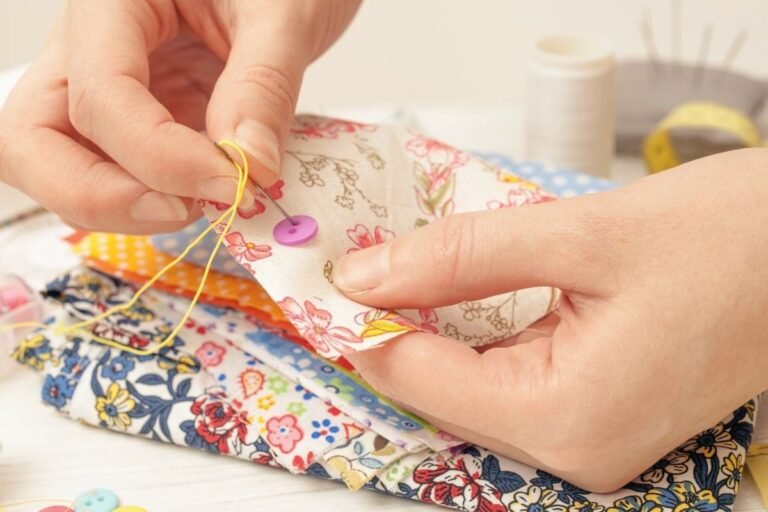
- Thread your needle and knot the end.
- Bring the needle up from the back of the fabric where the button belongs.
- Place the button on top.
- Stitch up through one hole and down through the opposite hole.
- Repeat 4–6 times until the button feels secure.
- Finish with a knot on the back.
Easy, right?
Tip: Don’t pull the thread too tight. Buttons need a tiny bit of wiggle room so fabric can move comfortably.
If you’d like to see this once before trying it yourself, this short video walks through sewing on a button step by step, without rushing or extra techniques.
Fixing a Split Seam
Split seams usually happen under stress — along sides, underarms, or where fabric pulls.
The good news: they’re easy to fix by hand.
How to Repair a Seam
- Turn the item inside out.
- Thread your needle and knot it.
- Use a backstitch or running stitch to sew along the split area.
- Keep stitches small and close together.
- Knot securely at the end.
You don’t need to resew the entire seam. Just extend your stitches slightly past the damaged area for strength.
Securing a Loose Hem
Hems come loose slowly and quietly — until suddenly they’re flapping around. Typically, at the worst possible time.
A simple hand-sewn hem can be nearly invisible from the outside.
Best Stitch for Hems
- A small running stitch or slip stitch
- Catch just a tiny bit of the outer fabric so stitches don’t show
This is especially useful for pants, skirts, curtains, or thrifted items that need a quick adjustment.
Small Tears and Fraying (How to Stabilize Them)
For tiny holes, worn spots, or fraying edges, the goal isn’t to make the fabric invisible again; it’s to stop the damage from spreading.
How to Stabilize a Small Hole or Frayed Area
- Thread your needle and knot the end.
- Starting a little outside the damaged area, bring the needle up through the fabric.
- Sew small stitches around the edge of the hole or frayed spot, forming a loose circle or oval.
- Gently pull the thread so the fabric comes together — not tight, just supported.
- Knot on the back when finished.
Think of it like drawing a soft boundary around the damage. You’re holding the fabric in place, not squeezing it shut.
Which Stitch to Use
- A running stitch works well for most small repairs.
- If the fabric feels especially loose or delicate, slightly closer stitches will add strength.
When to Stop
If the fabric continues to pull, thin, or crumble as you sew, that’s a sign the material itself is worn out. In that case, a repair may be temporary. But that’s okay.
Not every mend needs to last forever to be worthwhile. Sometimes the goal is simply getting more life out of something you enjoy.
A Note About Visible Mending
Not ALL mending is meant to disappear.
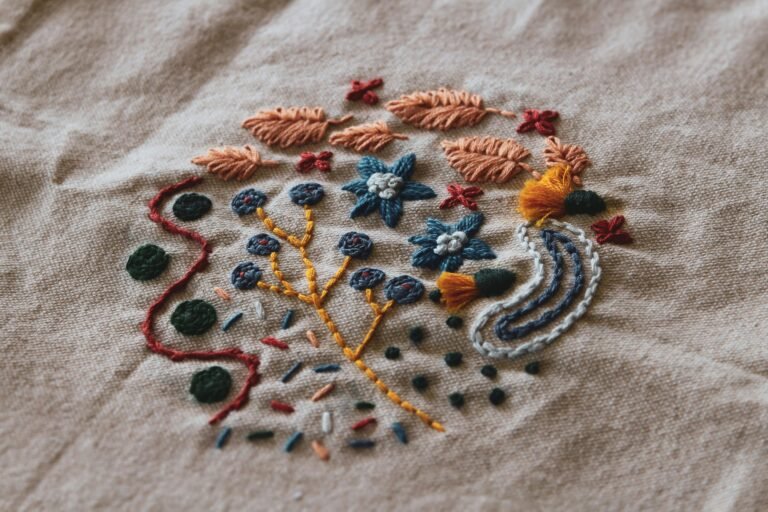
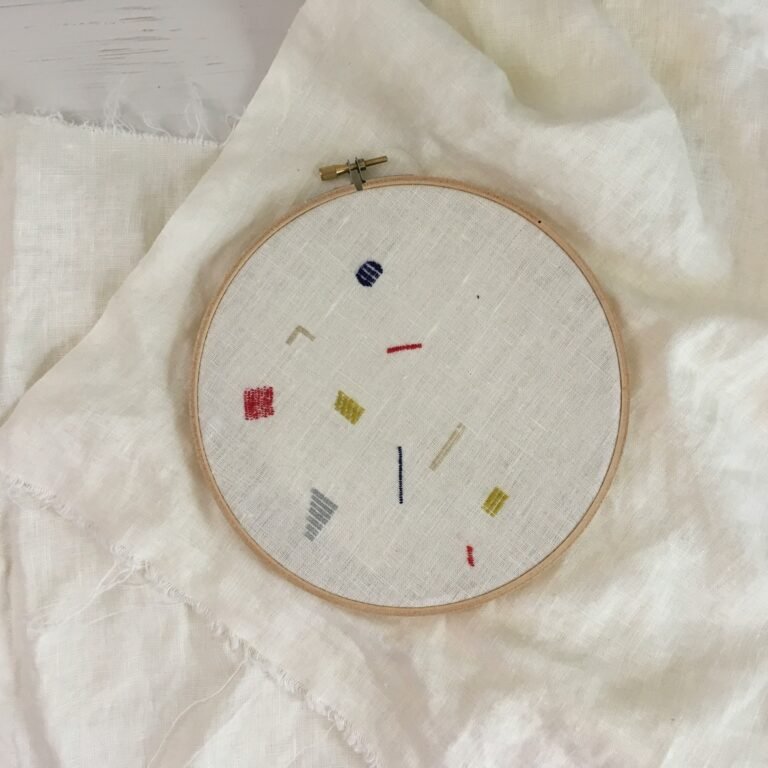
Visible mending is the practice of repairing fabric in a way that’s meant to be seen, by using contrasting thread, simple patterns, or decorative stitches to highlight the repair instead of hiding it.
And here’s the important part:
You don’t need special skills to do it.
What Visible Mending Is (and What it Isn’t)
Visible mending is:
- Practical repairs that also look intentional
- Simple stitches done neatly and thoughtfully
- A way to extend the life of clothes and fabric
Visible mending does not have to be:
- Complicated embroidery (although it can be)
- Perfect symmetry
- A test of artistic ability
If you can sew a running stitch or backstitch, you can do visible mending.
How to Try Visible Mending (The Easiest Way)
For a small hole or worn spot:
- Choose a thread color you like (it can match or contrast).
- Sew simple, evenly spaced stitches over the damaged area.
- Let the stitches show.
That’s it.
Straight lines, little crosses, or small rows of stitches all work beautifully. The goal is strength first — the design comes naturally from repetition.
Why Visible Mending Is Beginner-Friendly
Visible mending removes a lot of pressure:
- Mistakes look intentional.
- Uneven stitches feel human, not wrong.
- Repairs become part of the story of the item.
Instead of trying to make something look “new,” you’re letting it look lived-in, improved, even. And that’s a skill worth learning.
When Visible Mending Makes Sense
Visible mending works especially well for:
- Denim
- Linen
- Cotton
- Everyday clothing and textiles
- Adding a bit of your own personality to your stuff
If the fabric is extremely thin or delicate, traditional mending may still be the better choice, but nothing says you can’t try it!
There’s no rule that says every repair has to disappear.
Why These Repairs Matter
Learning these small skills does something subtle but important. It:
- Makes clothing feel less disposable
- Builds confidence without pressure
- Turns “I can’t fix this” into “I’ll try.”
You don’t need perfection. You don’t need fancy techniques. You just need willingness and a needle.
A Quiet Kind of Skill
Hand-sewing repairs aren’t flashy.
They don’t need to be shared.
They don’t have to be perfect.
But they’re deeply satisfying.
You fixed something.
With your hands.
One stitch at a time.
And that counts for a lot.
Where This Fits in Your Learning
If you’re brand new to hand sewing, these repairs are a perfect next step after learning basic stitches.
And if you’re still getting comfortable with how to learn hand sewing without overwhelm, Hand Sewing for Beginners: A Calm Way to Start Sewing is a great place to slow things down and find your rhythm.